Anúncios
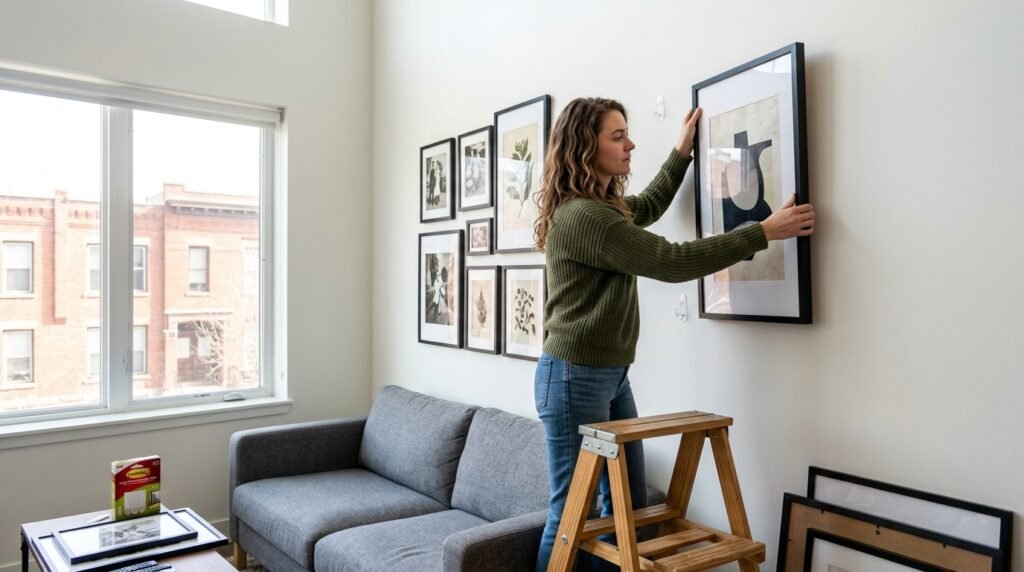
Staring at a massive blank wall in a new apartment feels incredibly intimidating. You want to display your favorite art and make the space feel personal. Your lease agreement explicitly threatens massive fines for every single nail hole you leave behind. Property managers love to deduct money from your security deposit for minor drywall damage.
My first apartment in the Capitol Hill neighborhood of Denver had strict rules against drilling. I owned a basic gray Target sofa that sat below ten feet of completely empty white drywall. The room looked like a sterile waiting area instead of a cozy living space. I needed a massive art display to anchor the room properly.
Building a custom art display requires specific techniques when you cannot use traditional hardware. Using gallery wall removable hooks prevents permanent damage completely. You do not have to settle for bare walls just because you rent your home. Let us walk through the exact process to build a secure display.
Planning a gallery wall removable hooks setup
Putting heavy frames on a wall without nails requires careful preparation. You cannot simply eyeball the placement and stick things up randomly. Adhesive products require exact positioning because pulling them off to adjust the layout weakens the glue. You must know exactly where every single piece will go before touching the wall.
Gather all your art pieces and lay them out on your living room floor. Include a mix of large focal pieces and smaller accent frames. Finding the right balance takes a little bit of trial and error. Do not rush this initial planning phase.
Anúncios
Finding the right art on a budget
You rarely need to spend hundreds of dollars on custom framing. I source almost all my wooden frames from the ARC Thrift Store on South Broadway. I look for solid wood frames with interesting textures and ignore the ugly artwork inside them. Taking the time to hunt saves massive amounts of money.
You can easily swap out the thrifted art for cheap digital downloads printed at a local print shop. Spray painting old wooden frames a uniform matte black creates an expensive, cohesive look. Discovering the best thrift store finds for home decor (and what to skip) will help you source your frames quickly.
Selecting the proper adhesive hardware
Walking down the hardware aisle reveals dozens of different sticky hooks and strips. Buying the cheapest option usually guarantees your frames will crash to the floor at midnight. You must match the specific weight of your frame to the weight rating on the package.
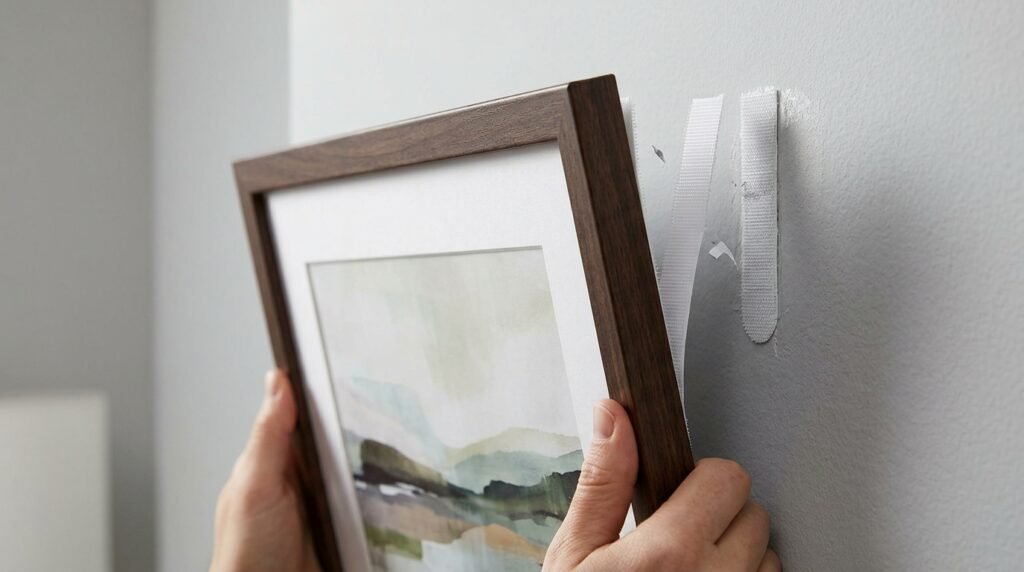
Command makes specific picture hanging strips that lock together like heavy-duty Velcro. These work perfectly for flat wooden frames that sit flush against the drywall. They keep the art completely secure and prevent the frames from tilting sideways over time.
Understanding weight limits
Always weigh your fully loaded frames on a basic kitchen scale before buying hardware. A large frame with actual glass inside weighs significantly more than you might assume. Use four heavy-duty strips for large pieces to distribute the load evenly.
If your frame has a hanging wire across the back, you need a different product entirely. You must use a specific wire-backed adhesive hook designed to hold that concentrated weight. Using the wrong product style leads directly to shattered glass.
Step 1: Trace your frames onto cheap paper
Holding a heavy wooden frame against the wall while trying to check the spacing proves impossible. You will eventually drop the frame or apply it crookedly. You need lightweight stand-ins to map out your specific arrangement.
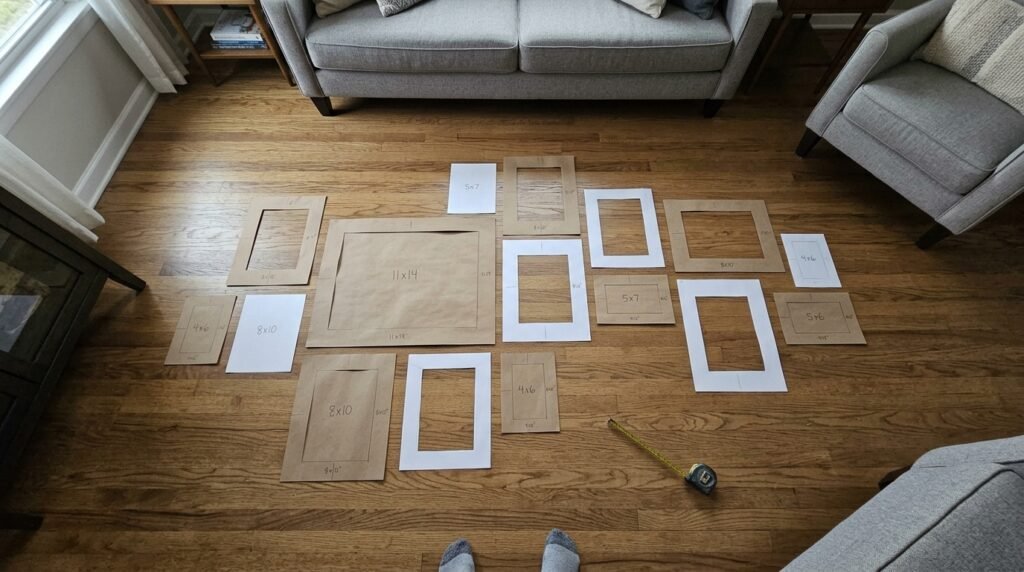
Buy a cheap roll of brown kraft paper or use saved packing paper from your move. Place each frame face down on the paper and trace the exact outline with a pencil. Cut out each individual paper rectangle with sharp scissors.
The cardboard template trick
Here is a highly practical tip for measuring the exact hanging point. Turn your frame over and measure the distance from the top edge to the mounting wire. Mark that exact measurement on your corresponding paper cutout.
You now have an exact, lightweight replica of your heavy frame. You can write a brief description of the art directly on the paper to remember which piece it represents. This small step prevents massive headaches later in the process.
Step 2: Map the arrangement on your floor
Clear a large section of your living room floor to build your mock display. Place your paper cutouts on the ground and start moving them around. You want to create a balanced composition that feels natural and collected.
Start by placing your largest, heaviest piece slightly off-center to act as the anchor. Build around that main piece with your medium and small cutouts. Stagger the shapes to keep the eye moving across the display.
Mixing horizontal and vertical shapes
A good arrangement relies on visual contrast to maintain interest. Never put all your vertical frames on one side and horizontal frames on the other. Mix the orientations evenly throughout the entire grouping.
Take a picture of the floor layout with your phone once you feel happy with it. You will absolutely forget the exact spacing once you start moving the paper to the wall. That digital photo serves as your permanent reference guide.
Step 3: Tape the layout to your drywall
Pick up your anchor paper cutout and hold it against your blank wall. Use blue painter’s tape to secure it exactly where you want the center of your display to sit. Blue tape peels off cleanly and will not peel your apartment paint.
Tape the rest of your paper cutouts to the wall following your reference photo. Step back frequently to view the arrangement from your sofa and your kitchen area. You want the display to sit roughly at eye level for a standing adult.
Spacing the frames correctly
Leaving the right amount of blank space between frames is crucial for a professional look. Tight spacing makes the display look cluttered and messy. Too much empty space makes the frames look disconnected and random.
Aim for exactly two to three inches of blank wall space between every single piece. Use a measuring tape to ensure the gaps remain consistent across the entire arrangement. If you need cheap art to fill a small gap, read these DIY wall art ideas that cost less than $5 to make.
Step 4: Clean the surface thoroughly
You cannot stick heavy-duty adhesive to a dusty, dirty wall. Invisible dust particles and natural cooking oils coat your apartment walls constantly. Applying sticky hardware to a dirty wall guarantees the glue will fail within a week.
Take a clean microfiber cloth and gently wipe down the area where the hardware will go. This removes the loose surface dust safely. Do not scrub the paint vigorously.
Why rubbing alcohol matters
Never use standard household surface cleaners to prep your drywall. Those cleaners leave a slick, soapy residue behind that actively repels the glue. You must use standard isopropyl rubbing alcohol to prep the surface.
Wipe a small amount of rubbing alcohol directly onto the wall with a cotton pad. Let it dry completely for five minutes. The alcohol strips away the invisible oils and gives the glue a perfect surface to grab.
Step 5: Execute your gallery wall removable hooks installation
You are finally ready to attach the hardware and hang your art. Take down one paper template at a time so you do not lose your carefully planned layout. Follow the exact instructions printed on your specific adhesive package.
If you use interlocking strips, click two strips together first. Remove one paper liner and press the sticky side firmly against the back of your frame. Repeat this process for all four corners of the wooden frame.
Activating the adhesive bond
Remove the remaining paper liners from the strips on the back of your frame. Use a small bubble level resting on top of the frame to ensure it sits perfectly straight. Press the frame firmly against the prepped wall.
You must press hard against the frame for a full thirty seconds. The adhesive requires strong physical pressure to activate and bond with the paint. Counting to thirty feels like a long time, but do not skip this exact step.
Step 6: The secret waiting period
Most renters make a critical error immediately after pressing the frame to the wall. They leave the heavy frame hanging and walk away. The glue needs time to cure without supporting a heavy load.
Grab the bottom corners of your frame and peel it gently upward and away from the wall. The interlocking strips will separate with a loud ripping sound. Half of the strips stay on the wall, and the other half stay on the frame.
Reattaching the frames
Use your fingers to press firmly on the strips remaining on the wall for another thirty seconds. Leave the wall completely alone for exactly one hour. This curing period allows the adhesive to reach maximum strength.
After an hour passes, line up the strips on the frame with the strips on the wall. Press them together until you hear a distinct clicking sound. The clicking confirms the heavy-duty Velcro is locked securely in place.
Removing the hardware without tearing the paint
Moving out of your apartment requires taking the entire display down carefully. Ripping the hardware off the drywall will pull a huge chunk of paint with it. You must understand the specific removal process to protect your security deposit.
Take the frame completely off the wall first to expose the plastic hardware. Every adhesive strip has a small pull tab pointing toward the floor. You must pull that tab slowly to release the sticky bond.
Pulling straight down
Never pull the tab away from the wall toward your body. Place one hand gently over the plastic hook to hold it steady. Use your other hand to pull the tab straight down, keeping your hand flush against the drywall.
The strip will stretch incredibly far before suddenly snapping off the wall completely clean. It leaves zero residue and zero holes behind. Learning how to hang things on walls without drilling holes saves you massive amounts of money on move-out day.
Gather your favorite art pieces and arrange them on your living room floor tonight. Buy a pack of heavy-duty adhesive strips and a bottle of rubbing alcohol tomorrow. Take one hour this weekend to build a custom art display that leaves your rental walls completely spotless.

Fabiana Moura is a decor enthusiast and renter based in Denver, CO. After five moves in eight years, she became obsessed with making small spaces feel like home — without renovation, without a big budget, and without losing the security deposit. At Inovaty, she shares everything she’s learned along the way.