Anúncios
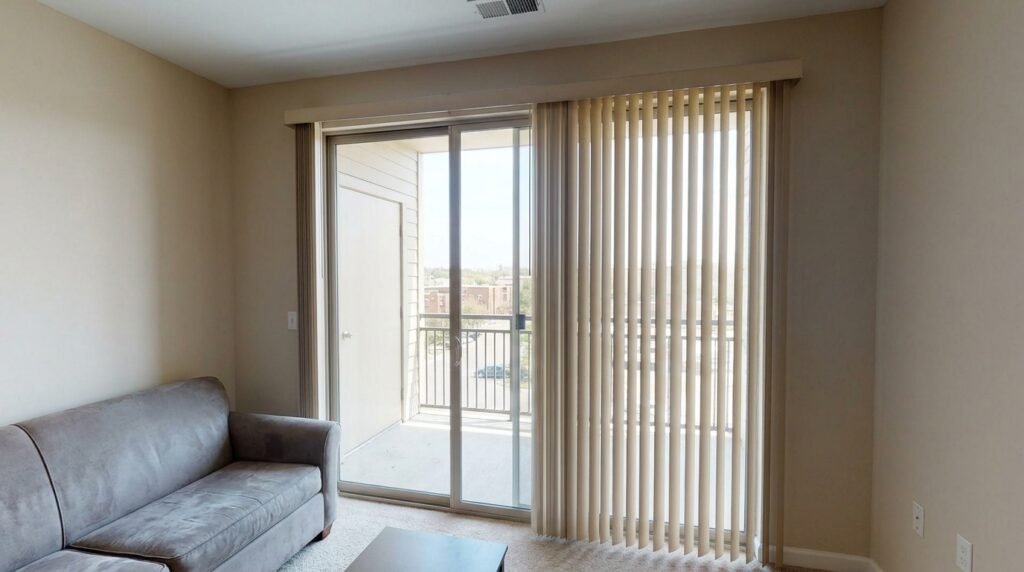
Bare windows make a room feel like a sterile dentist waiting area. Most rental apartments come with awful plastic vertical blinds that block the natural light. You look at custom window treatments and immediately panic at the six-hundred-dollar price tag.
I faced this exact problem when I moved into my Highland neighborhood apartment. The living room featured a massive glass sliding door that demanded actual fabric. I refused to buy a sewing machine just to fix one room.
Figuring out how to make no-sew curtains saved my security deposit and my budget. You can completely finish a room using simple materials from the hardware store. It just requires an afternoon of measuring and a hot iron.
The secret material for no-sew curtains
You do not need to visit an expensive specialty fabric store to find high-quality textiles. Traditional linen runs about twenty dollars a single yard. A standard apartment window requires at least six yards of material to look properly full.
That basic math simply does not work for a renter on a strict monthly budget. Go straight to the paint aisle at Home Depot or Lowe’s instead. You want to look for heavy-duty cotton canvas drop cloths.
Anúncios
A massive nine-by-twelve foot Everbilt canvas drop cloth costs exactly fourteen dollars and ninety-eight cents. This thick cotton canvas features a beautiful natural weave that mimics expensive Belgian linen perfectly. The heavy material drapes smoothly toward the floor and blocks out harsh streetlights.
The mandatory pre-washing step
Here is a highly specific practical tip you must follow before doing anything else. You absolutely must wash and dry your canvas drop cloths on high heat immediately. Industrial canvas shrinks drastically during the first wash cycle.
If you measure and hem the fabric before washing it, your panels will shrink two inches later. They will hover awkwardly above your floorboards forever. Wash them twice with fabric softener to remove the stiff industrial sizing and any weird warehouse smells.
Taking the time to prep the raw material makes the final product look highly intentional. Doing things correctly from the start is the cheapest way to decorate a living room from scratch.
Gathering the right tools for the job
You only need three basic items to build these window panels. You need your washed canvas drop cloth, a hot clothing iron, and iron-on fabric tape. HeatnBond makes the absolute best hem tape on the market for this specific project.
Buy the UltraHold version in the bright red packaging. It costs about four dollars a roll on Amazon. This specific tape melts under the heat of your iron and fuses two pieces of heavy fabric permanently together.
You will also need a sharp pair of fabric scissors and a metal tape measure. A heavy metal tape measure prevents the fabric from sliding around while you find the correct length. Do not try to use a flimsy plastic sewing ruler.
Preparing your physical workspace
Clear off a massive section of your floor to lay the fabric completely flat. Trying to measure nine feet of thick canvas on a tiny dining table will drive you completely insane. You need physical floor space to see the entire rectangular shape clearly.
Vacuum the floor thoroughly before you lay the clean canvas down. You just spent two hours washing and drying the fabric. You do not want pet hair and dust clinging to your brand new window treatments before you even hang them.
Step 1: Measuring the exact ceiling height
You must hang your metal rod high and wide to make the room look larger. Install the thick metal rod about one inch below your ceiling line. Extend the rod brackets ten inches past the actual window frame on each side.
Measure from the top of the installed rod straight down to the floor. Add exactly two inches to that final number. You need this extra length to create a clean top hem that hides the raw canvas edge completely.
Proper measurements prevent the room from feeling cramped and totally awkward. Avoiding bad visual proportions helps you fix common small bedroom layout mistakes and how to fix them.
Deciding on the floor break
You have to decide how the bottom of the fabric interacts with your apartment floor. The canvas can kiss the floorboards exactly or puddle softly on the ground. The kissing method makes weekly vacuuming significantly easier for busy renters.
Subtract one inch from your total measurement if you want the kissing method. Keep the measurement exactly the same if you prefer a romantic puddle of fabric. Mark this final measurement on the side of your canvas using a dark pencil.
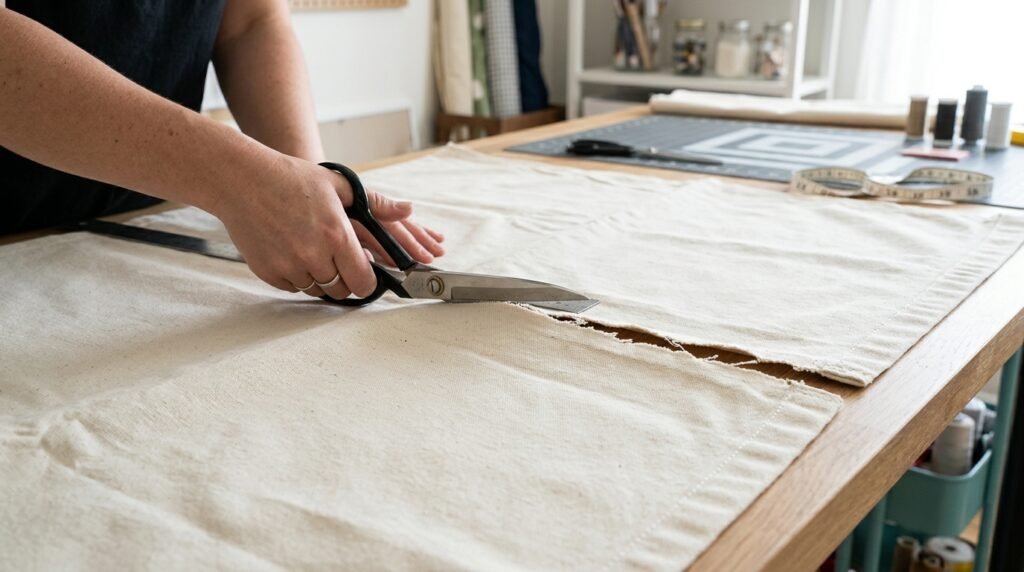
Step 2: Cutting the canvas to size
Drop cloths usually feature perfectly finished seams on all four sides straight out of the package. You want to keep as many of these factory seams intact as physically possible. They save you massive amounts of ironing later in the afternoon.
Cut the fabric horizontally across the top to reach your desired length. Use your sharp fabric scissors to make a single, continuous line across the material. Do not worry if the cut looks slightly jagged or a little messy.
You will fold this raw edge completely inside the hem pocket. Nobody will ever see the imperfect cut you just made. The thick canvas easily hides minor mistakes and uneven lines.
Managing the panel width
A single nine-by-twelve drop cloth easily cuts in half to create two separate panels. Fold the massive rectangle perfectly in half vertically and cut straight up the center fold. You now have two identical panels ready for finishing.
Each panel will feature one raw vertical edge that needs immediate attention. You must seal this exposed edge to prevent the heavy cotton from unraveling in the washing machine.
Step 3: Fusing the raw edges together
Turn your iron to the highest cotton setting and turn the steam function completely off. The adhesive tape requires dry heat to melt the glue properly into the fibers. Steam prevents the tape from forming a tight permanent bond.
Fold the raw vertical edge over by one inch and press it flat with the hot iron. This creates a sharp memory crease in the thick material. Unfold the crease and lay a strip of hem tape directly inside the fold.
Fold the fabric back over the tape and hold the hot iron on top for exactly eight seconds. Move the iron down the line and repeat the process carefully. Let the hot fabric cool completely before you try to move it.
Creating the strong top heading
You must create a strong top heading to support the weight of the heavy canvas. Fold the top raw edge over by two inches. Press a sharp crease into the fabric with your hot iron to mark the line.
Apply the hem tape inside this fold just like you did on the vertical edges. A two-inch hem provides a thick, rigid border for your metal clips to grab onto securely.
Take your time during this specific step. A perfectly straight top edge ensures the entire panel hangs parallel to your ceiling.
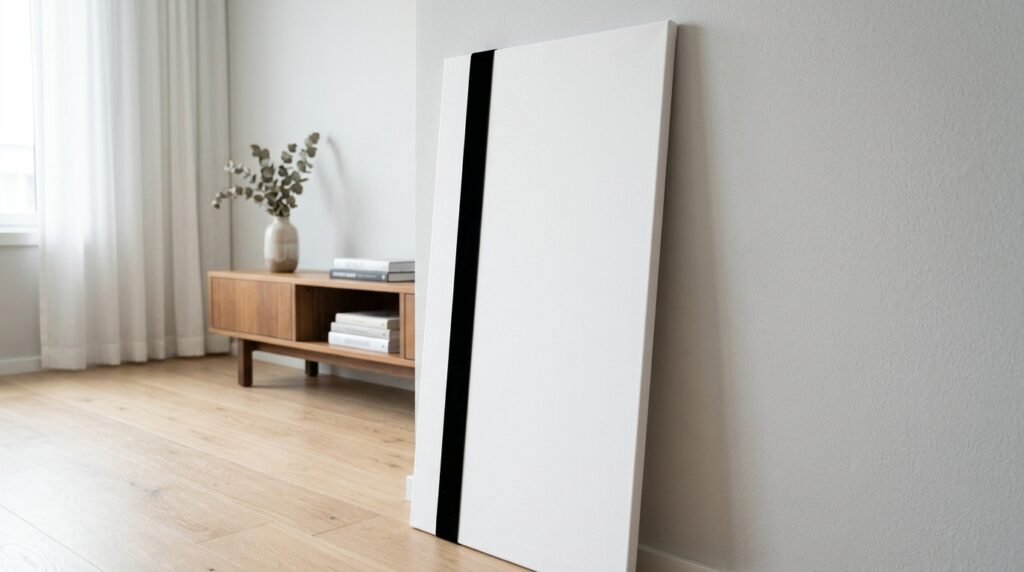
Adding decorative trim without a sewing machine
You can easily customize these basic canvas panels to match your specific apartment aesthetic. Blank white canvas looks beautifully minimal but sometimes you want a bold pop of color. You can add decorative details using the exact same ironing method.
Buy a spool of thick black velvet ribbon or geometric trim from the local craft store. Run a continuous line of the ribbon down the inside vertical edge of each panel. Use a lighter weight strip of hem tape to fuse the ribbon directly to the front of the canvas.
This simple vertical stripe draws the eye up and makes the ceiling look even taller. It mimics the look of custom hotel drapes for an extra five dollars.
Selecting the right trim weight
Always choose a trim material that matches the heavy weight of the cotton drop cloth. A flimsy silk ribbon will pucker and melt under the intense heat of your iron. Thick velvet, heavy cotton webbing, or woven jute trim work the absolute best.
Test the trim with your hot iron on a scrap piece of canvas first. You do not want to ruin your finished panels by burning a hole through a cheap piece of plastic ribbon.
Step 4: Hanging your new textiles properly
Do not try to slide the thick canvas directly over the metal curtain rod. It looks incredibly bulky and makes sliding the fabric completely impossible. You must use heavy metal ring clips to attach the material to the hardware properly.
Buy a pack of matte black curtain rings with alligator clips attached. Space the clips exactly four inches apart across the top hem. This spacing forces the stiff canvas to fold into beautiful, uniform pleats.
The metal clips add a highly professional detail to the cheap hardware store material. This simple trick perfectly executes how to make cheap curtains look high-end.
Training the canvas pleats
The thick industrial cotton will look slightly stiff on the first day. You must actively train the material to fall in uniform columns. Open the panels fully and arrange the folds perfectly by hand.
Tie three pieces of loose twine around the pleated fabric to hold the shape firmly. Leave the strings tied tightly for three full days. The cotton remembers this exact shape and hangs beautifully once you remove the twine.
This training process costs absolutely nothing but greatly improves the final aesthetic. Your guests will assume you hired a professional decorator to outfit your living room. Building perfect no-sew curtains takes time, but the financial savings make the effort incredibly rewarding.
Grab your tape measure tonight and find the exact ceiling height of your living room. Pick up a cheap canvas drop cloth tomorrow morning and build your own custom no-sew curtains before the weekend ends. You will finally block out the harsh streetlights without draining your savings account.

Fabiana Moura is a decor enthusiast and renter based in Denver, CO. After five moves in eight years, she became obsessed with making small spaces feel like home — without renovation, without a big budget, and without losing the security deposit. At Inovaty, she shares everything she’s learned along the way.